
Marketo Munchkin is Adobe Marketo Engage’s JavaScript tracking script. It is used to track website visits and link clicks, including activity from anonymous visitors, so those activities can later be used in Marketo Smart Campaigns, Smart Lists, and reporting.
Step 1: Access Console Tab in Chrome Developer Tools
To begin, navigate to the webpage where you have added the Marketo Munchkin script. Right-click anywhere on the page and select “Inspect” from the context menu. This will open Chrome Developer Tools where you will see several tabs at the top. You’ll mainly use 3 tabs for the full verification detailed in this post:
- Console
- Network
- Application
– The Console tab helps you check whether the Munchkin JavaScript object is available.
– The Network tab helps you confirm whether the tracking request is actually being sent.
– The Application tab helps you check whether the Marketo tracking cookie has been created.
Step 2: Check the Console for Errors
Open the Console tab and reload the page. Look for errors related to: Munchkin, Marketo, munchkin.js. If you see JavaScript errors, blocked script errors, or consent-related blocking messages, the Munchkin script may not be loading or running correctly.
A few common problems are:
Munchkin is not defined
Failed to load resource
Refused to load the script because of Content Security Policy
Blocked by client
“Blocked by client” often means a browser extension, ad blocker, or privacy tool blocked the request.
If there are no visible errors, continue with the next checks.
Step 3: Verify That the Munchkin Object Exists
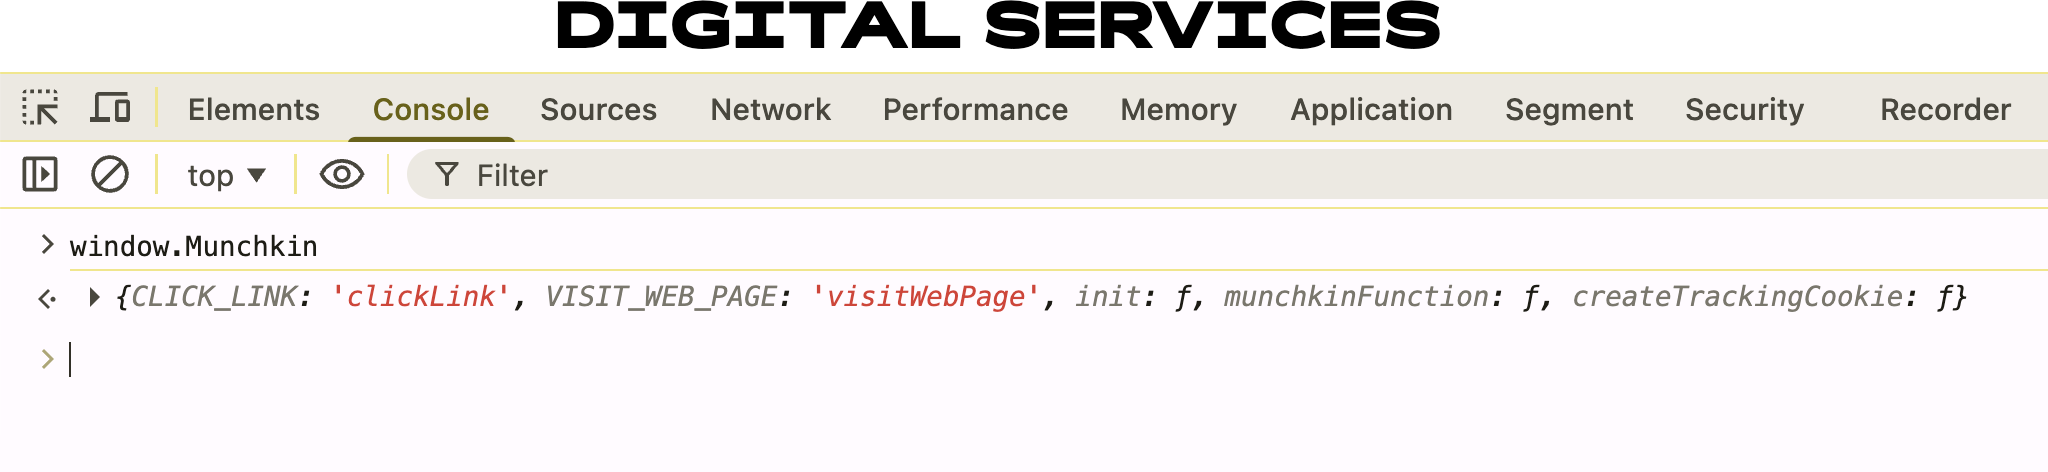
In the Console, type:
window.Munchkin
Press Enter.
If Munchkin has been added to the page, you should see an object returned.
You can also run:
typeof window.Munchkin
A successful result should usually return:object
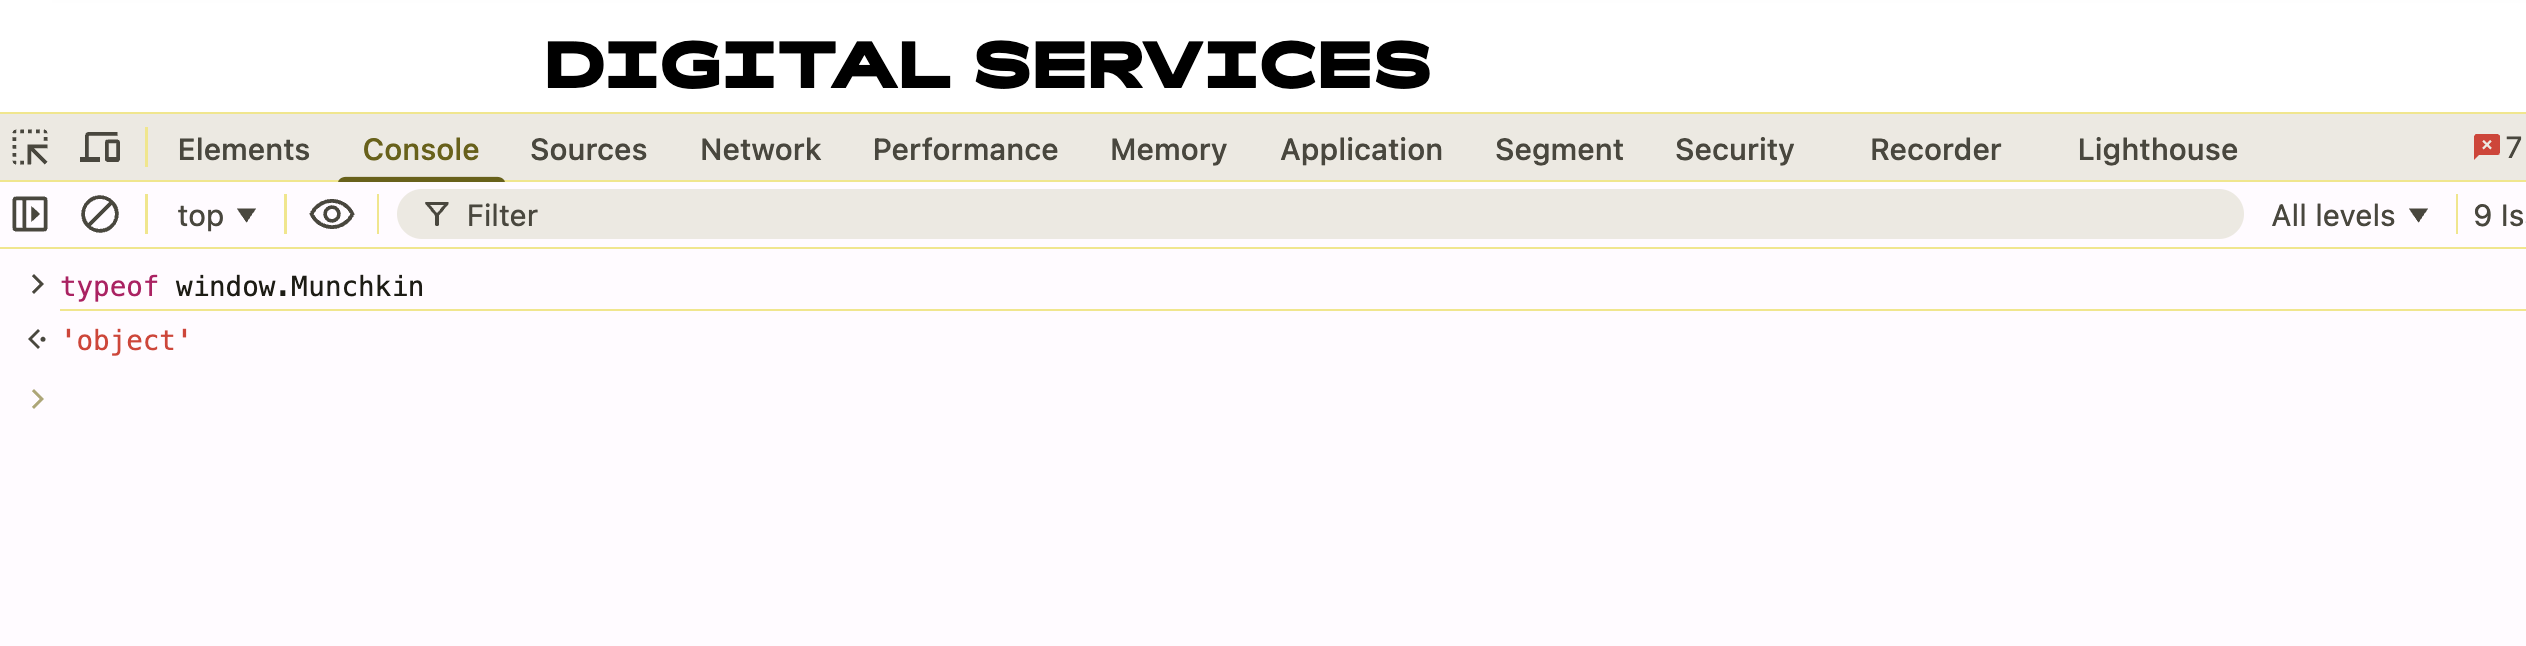
This confirms that the public Munchkin object exists on the page.
However, this check alone is not enough. window.Munchkin may exist because the loader is present, but the real tracking library may still be loading.
Step 4: Check Whether the Real Munchkin Tracker Has Loaded
The Munchkin loader and the actual tracking implementation are not exactly the same thing.
A practical way to check whether the real tracker has loaded is to inspect:
window.MunchkinTracker
You can also run:
typeof window.MunchkinTracker
If the real Munchkin library has loaded, this should usually return:object
![]() Then check which functions are available:
Then check which functions are available:
Object.keys(window.MunchkinTracker || {})
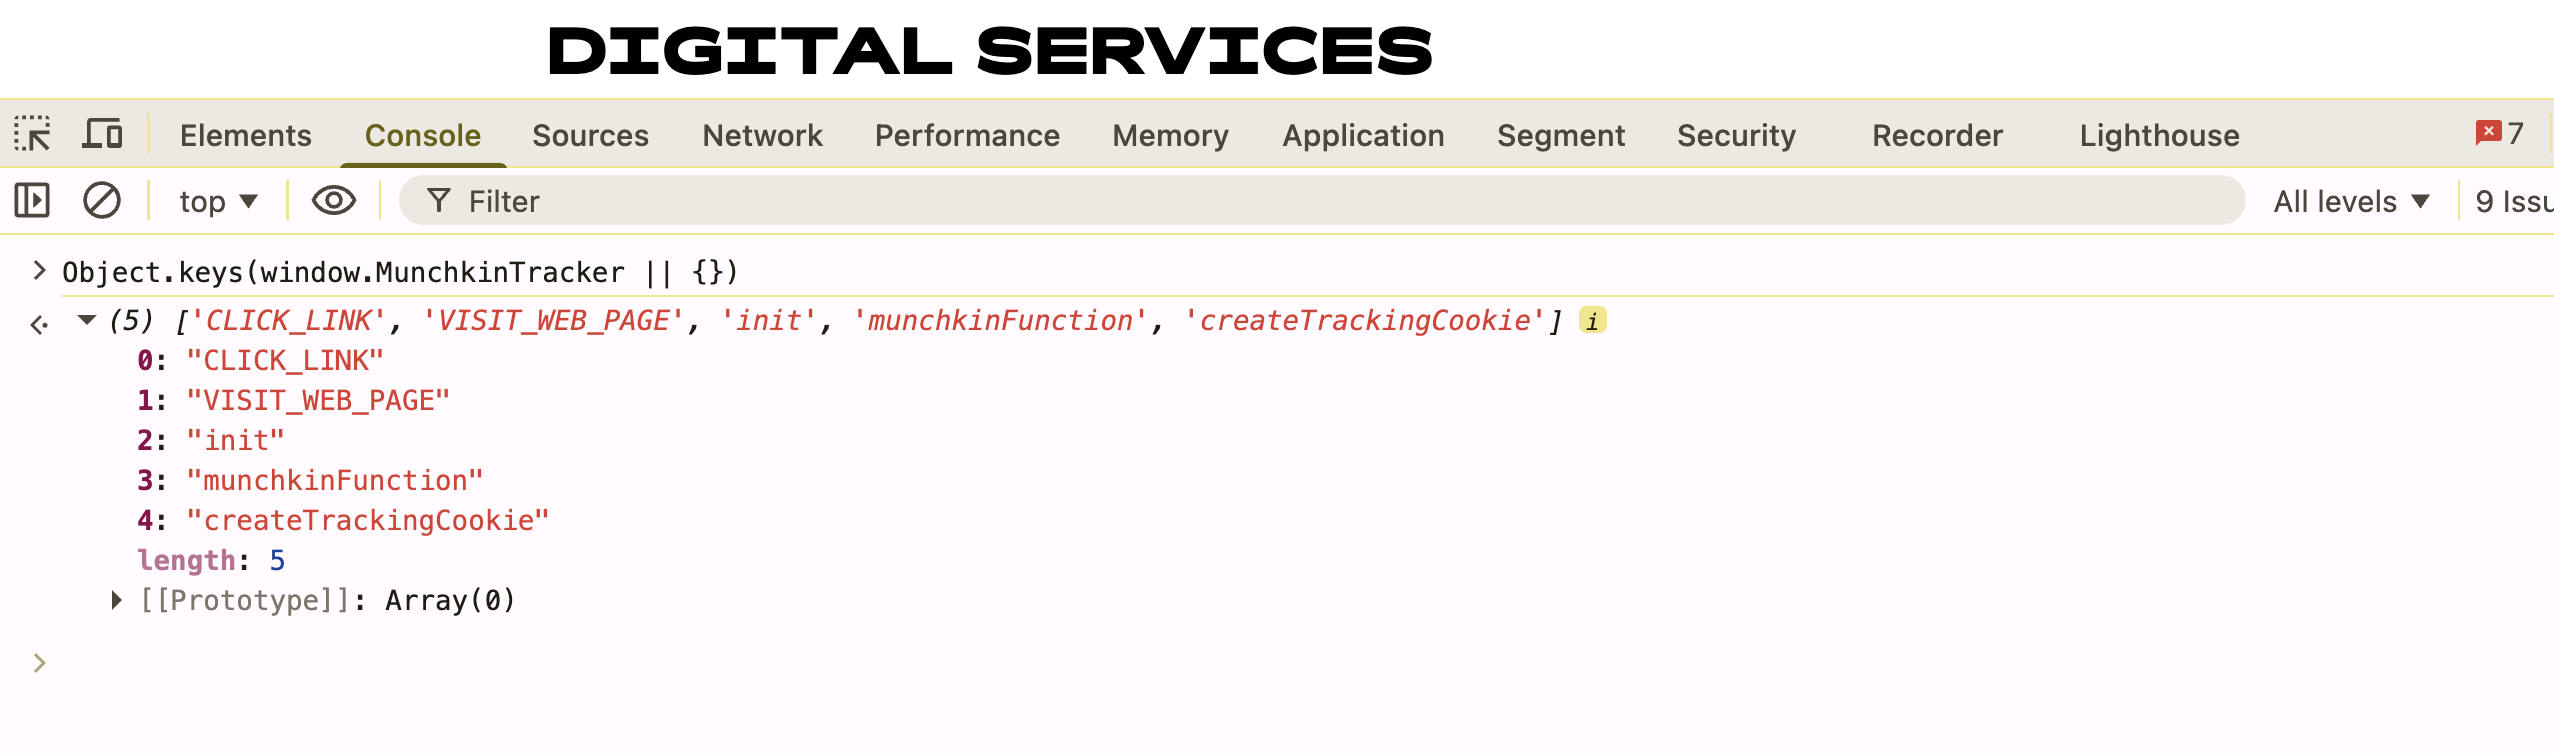
If you see functions such as munchkinFunction, the tracker is available.
A more direct readiness check is:
!!(
  window.MunchkinTracker &&
  typeof window.MunchkinTracker.munchkinFunction === "function"
)
If this returns: true, then the Munchkin tracking library is available and ready to accept tracking calls.
![]()
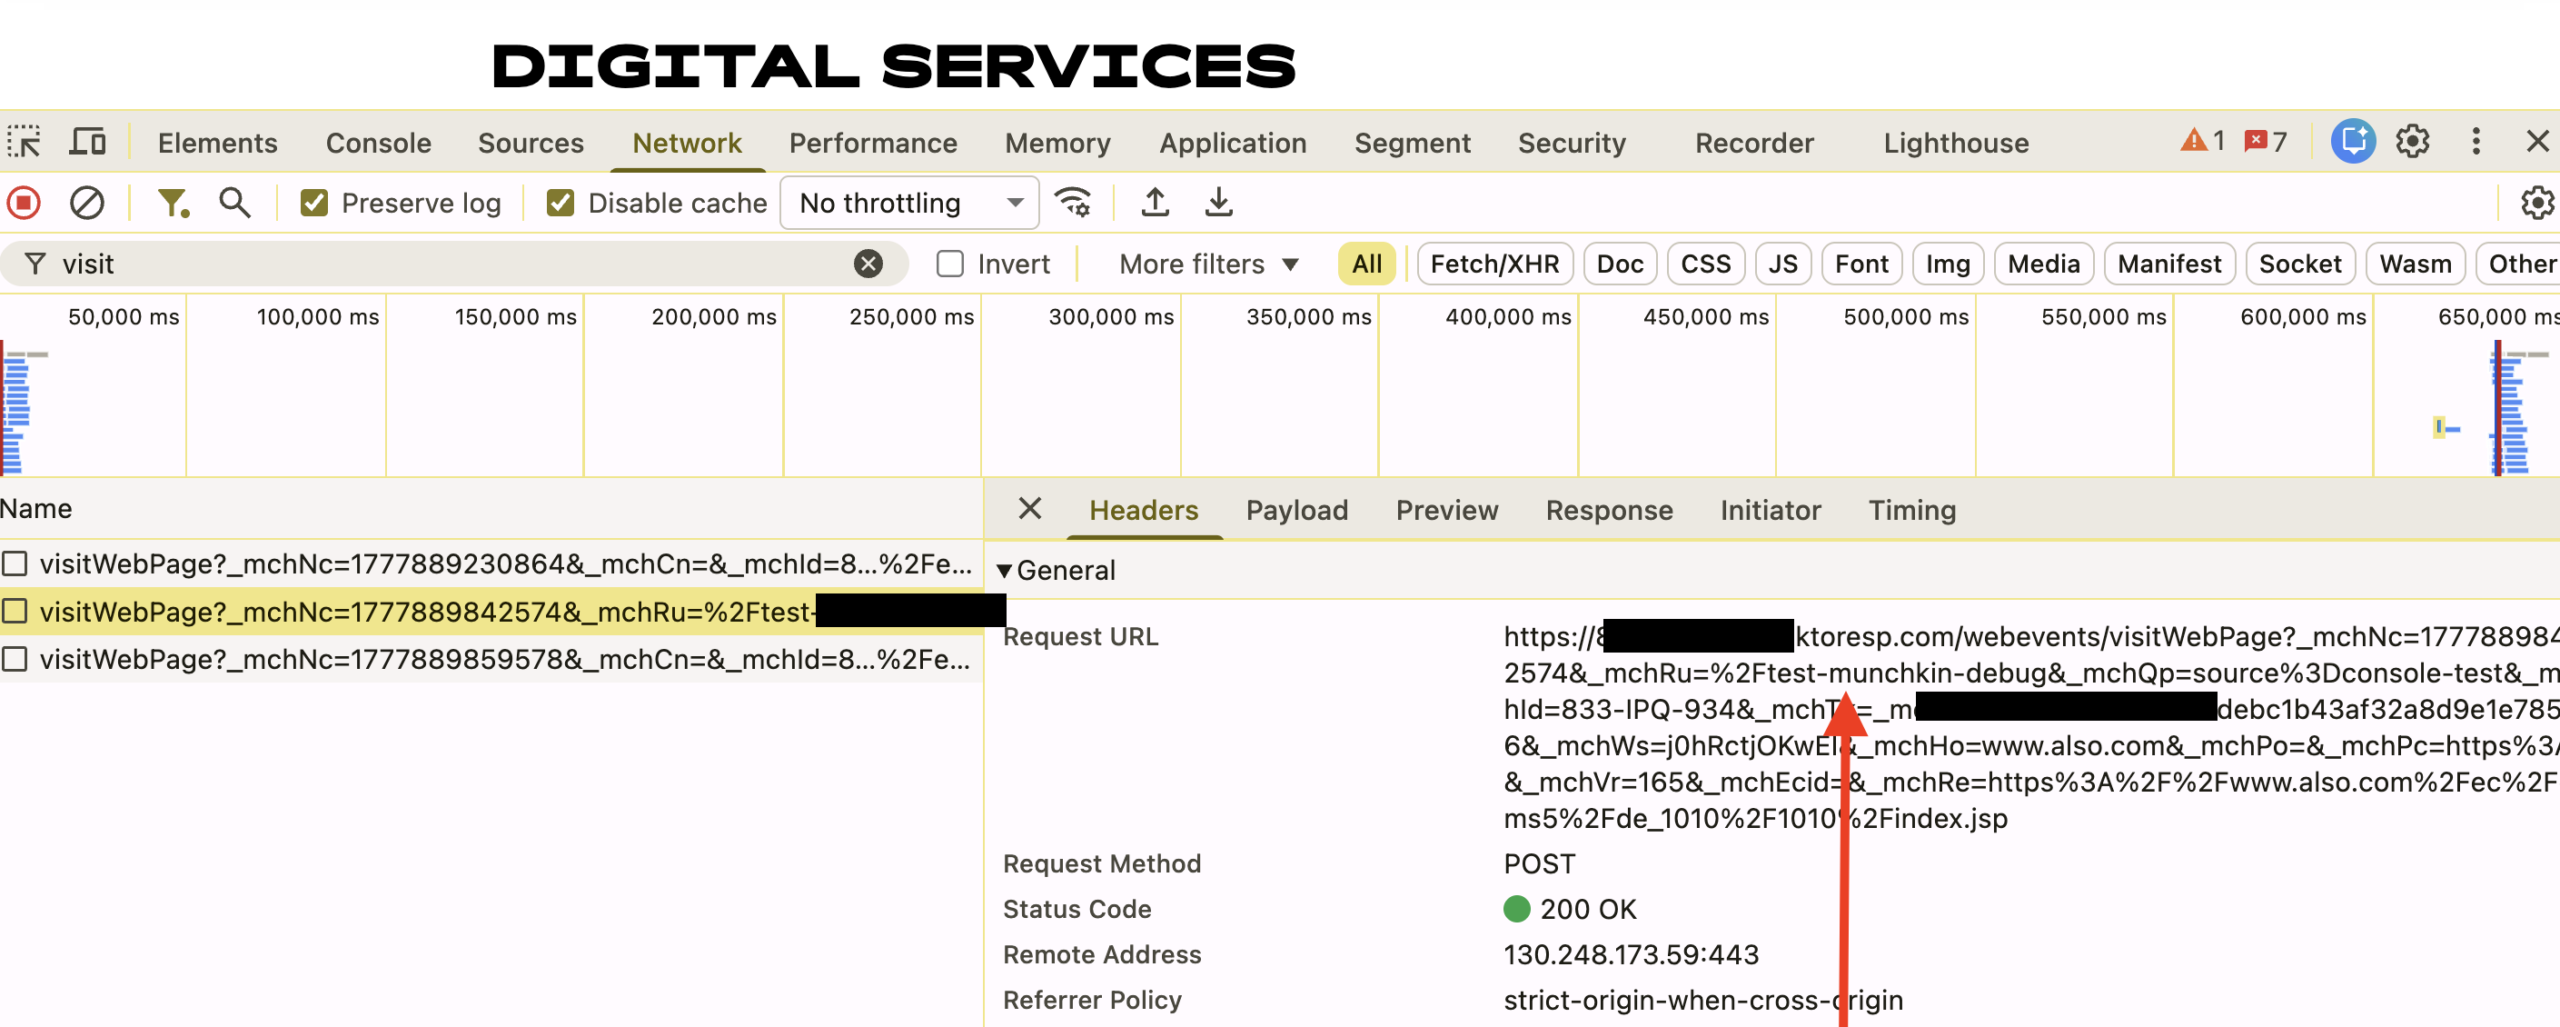
Step 5: Verify That a Tracking Request Is Sent
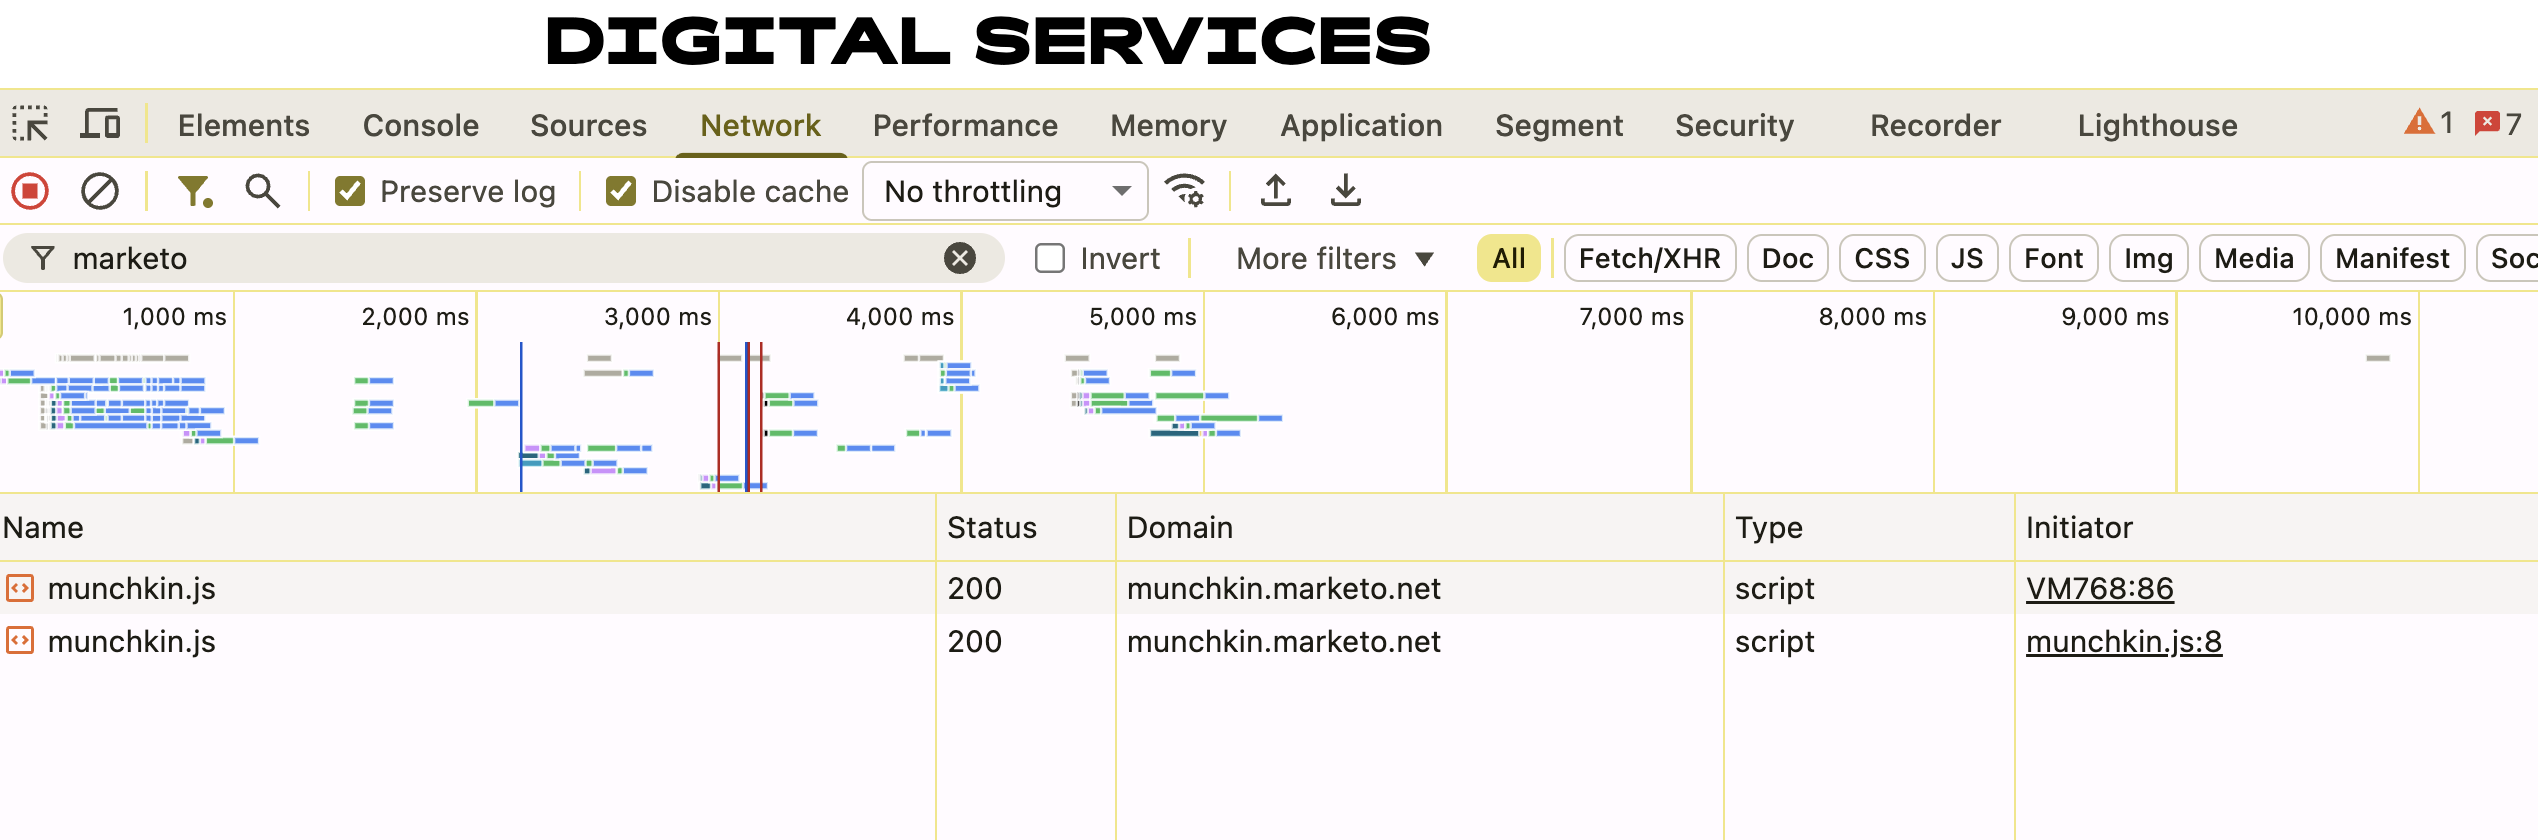
The most reliable browser-side check is the Network tab. Open Chrome Developer Tools and go to Network.
Then reload the page. In the filter box, search for:
munchkin
You can also try:
visitWebPage
or
marketo
You should see the Munchkin script loading and, in many cases, a tracking request being sent.
 The initial pageview is normally sent when Munchkin is initialized. Adobe’s documentation notes that calling
 Munchkin.init() creates a web page visit activity for the current page. Additional visitWebPage calls are mainly used when you need to track extra virtual pageviews or custom web activity.
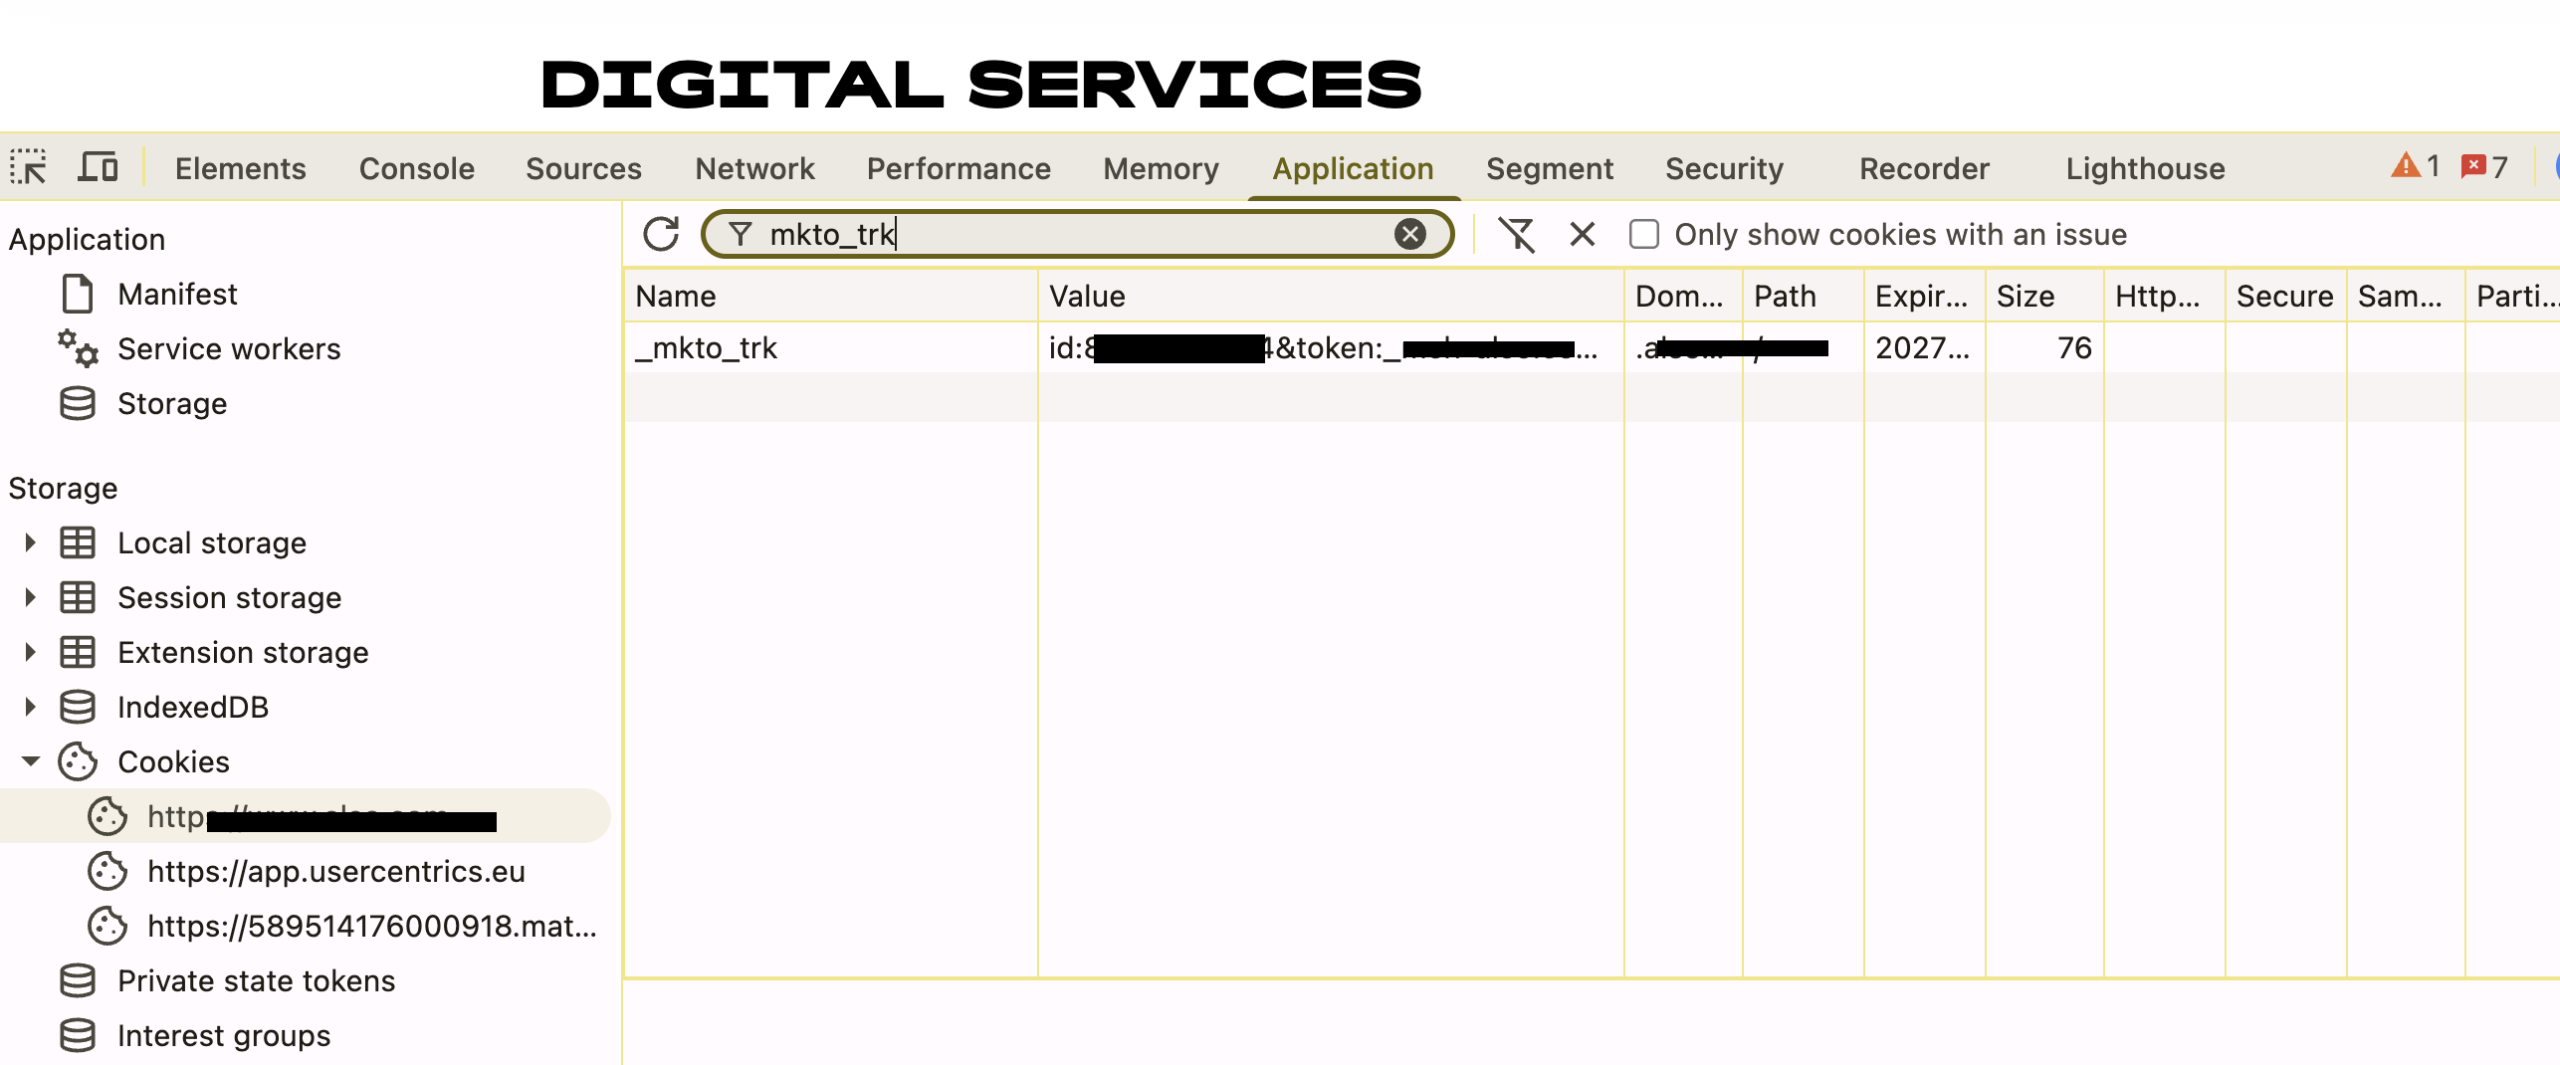
Step 6: Check for the Marketo Tracking Cookie
Munchkin commonly uses a browser cookie called: _mkto_trk
To check it:
Go to Application in Chrome Developer Tools. Then go to:
Storage > Cookies > your website domain
Look for: _mkto_trk
If this cookie exists, it usually means Munchkin has created or recognized the visitor tracking cookie.
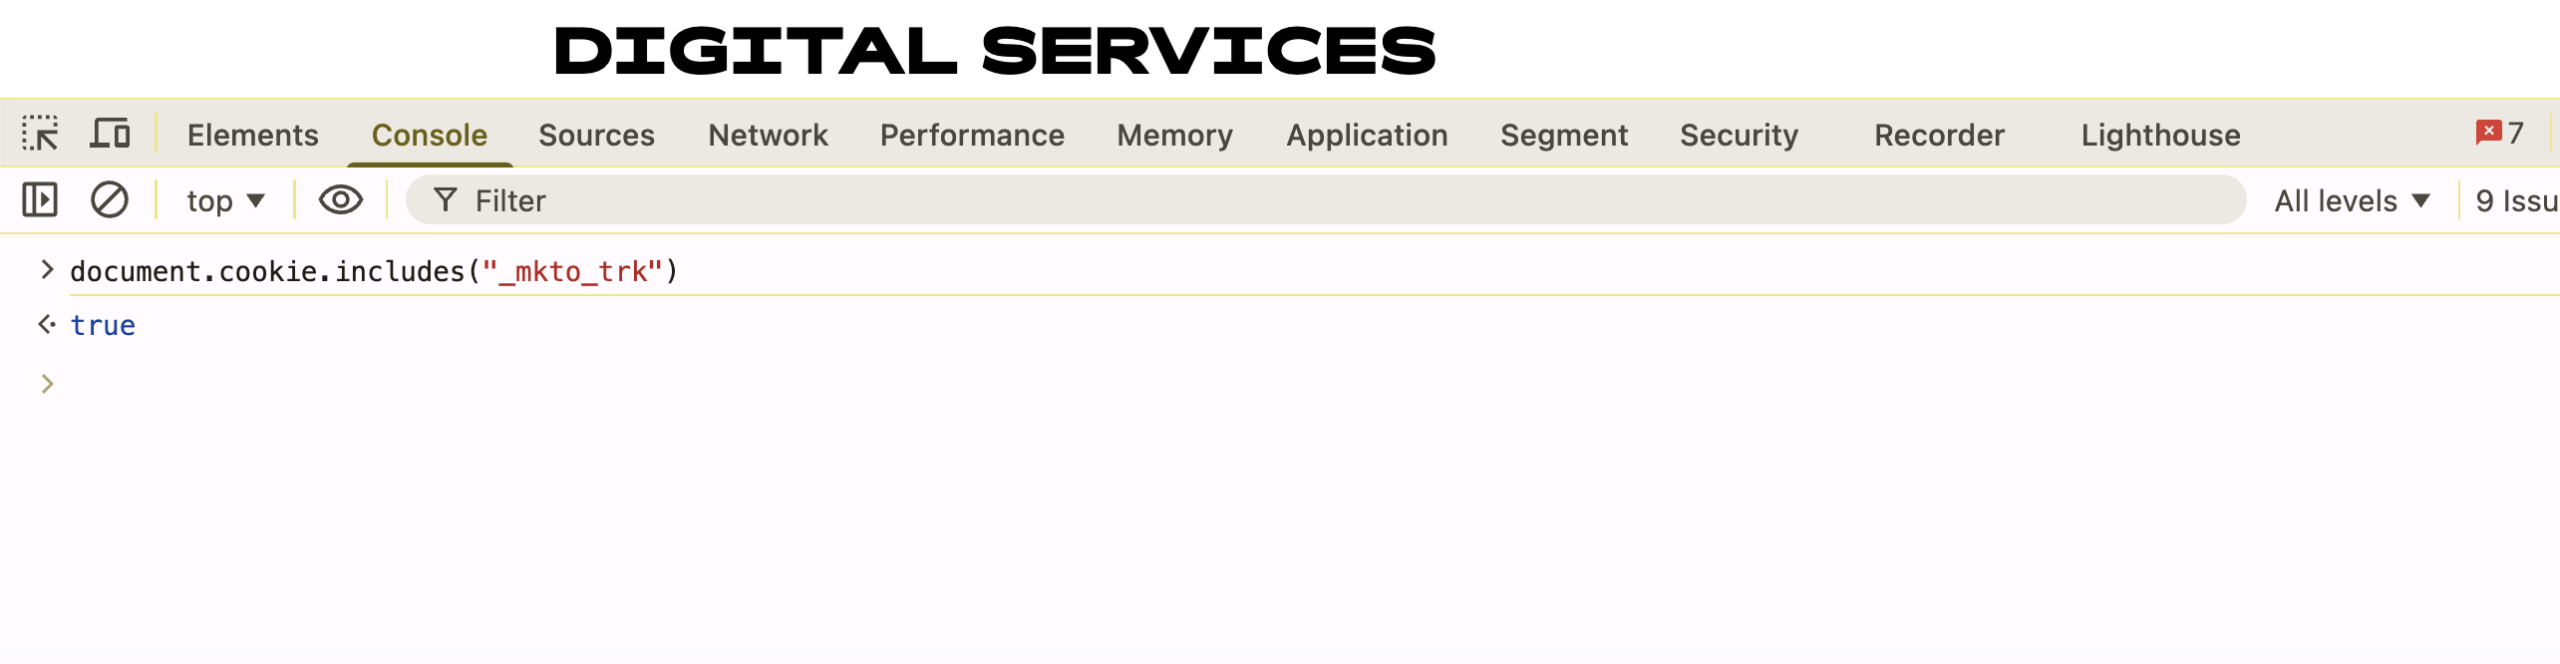
 You can also check from the Console:
document.cookie.includes("_mkto_trk")
If it returns ‘true’, the cookie is present:
Important: the absence of this cookie does not always mean the implementation is broken. Consent settings, browser privacy controls, cookie restrictions, or ad blockers may prevent cookies from being set.
Step 7: Test a Munchkin API Call Carefully
Adobe documents Munchkin.munchkinFunction() as the public JavaScript API method for tracking activities such as visitWebPage and clickLink.
For example, a custom page visit can be sent with:
Munchkin.munchkinFunction("visitWebPage", {
  url: "/test-munchkin-debug",
  params: "source=console-test"
});
However, do not run this casually on a production site unless you are comfortable creating a test activity in Marketo.
For link click tracking, use this format:
Munchkin.munchkinFunction("clickLink", {
  href: "/test-link"
});
After running a test, check the Network tab again to see whether a request was sent.
Step 8: Use a Small Readiness Helper
If you need to run custom code only after Munchkin is ready, you can use this helper:
function waitForMunchkinReady(callback, timeoutMs = 5000) {
  const start = Date.now();

  const timer = setInterval(function () {
    const tracker = window.MunchkinTracker;

    if (
      tracker &&
      typeof tracker.munchkinFunction === "function"
    ) {
      clearInterval(timer);
      callback(tracker);
      return;
    }

    if (Date.now() - start >= timeoutMs) {
      clearInterval(timer);
      console.warn("MunchkinTracker was not ready within timeout");
    }
  }, 50);
}
Usage:
waitForMunchkinReady(function (tracker) {
  console.log("Munchkin is ready", tracker);
});
This confirms that the real tracking object is available.
It does not prove that a tracking hit was accepted by Marketo. For that, you still need to check the Network tab and, ideally, confirm the activity inside Marketo.
Final Checklist
Use this checklist to verify a Munchkin implementation:
1. No Munchkin-related JavaScript errors appear in the Console.
2. window.Munchkin exists.
3. window.MunchkinTracker exists.
4. window.MunchkinTracker.munchkinFunction is a function.
5. The Munchkin script loads in the Network tab.
6. A Munchkin tracking request is sent after page load.
7. The _mkto_trk cookie exists, if cookies are allowed.
8. The activity appears in Marketo after processing.
FAQs: Checking Marketo Munchkin Tracking
What is Marketo Munchkin?
Marketo Munchkin is the tracking script used by Adobe Marketo Engage.
It helps Marketo understand when someone visits your website, clicks certain links, or returns to the site later. This activity can then be used in Marketo for lead scoring, Smart Campaigns, segmentation, and reporting.
What is the Difference Between Munchkin and MunchkinTracker?
This can be confusing because both objects may look very similar after the script has loaded.
A simple way to think about it:
window.Munchkin = public API / loader / wrapper
window.MunchkinTracker = real loaded tracking implementation
In many implementations, you call methods through:
Munchkin.munchkinFunction(...)
But for debugging readiness, it is useful to check:
window.MunchkinTracker
because it shows whether the actual tracking library has loaded.
If the _mkto_trk cookie is missing, is my tracking broken?
Not always. The cookie may be missing because:
- The visitor has not accepted tracking cookies
- The consent banner is blocking Marketo
- The browser is blocking cookies
- An ad blocker or privacy extension is active
- The script did not load
- The implementation is incorrect
So the missing cookie is a warning sign, not final proof that tracking is broken.
Can I test Marketo tracking without being a developer?
Yes, at a basic level.
You can check three things:
- Does window.Munchkin return something in the Console?
- Does the Network tab show Munchkin or Marketo requests?
- Does the _mkto_trk cookie appear under Application > Cookies?
If all three are present, the basic implementation is likely working.
For a full test, someone with Marketo access should also confirm whether the page visit appears in the person’s activity log.

3 Comments
Hadi W
Hi,
Thanks for the useful article.
However, I'd like to check the Munchkin.isTrackingReady() and Munchkin._getMunchkinCookie(), are those still officially coming from Marketo Munchkin or it is a custom ?
FYI, I can see the munchkin provide these 2 function visitWebPage and clickLink wrappers ?
Shad Malik
Hi Hadi,
Thank you for asking that question. And you are absolutely right. A few parts of the old post are no longer safe to use: Munchkin.isTrackingReady() and Munchkin._getMunchkinCookie(). Those are not reliable anymore. We have now updated the post to reflect better ways for verifications. The safer approach is to verify:
- the script is present,
- the real Munchkin tracker has loaded,
- the expected public API function exists,
- the browser sends a tracking request,
- the _mkto_trk cookie exists, where applicable.
Adobe’s current Munchkin API docs describe Munchkin.munchkinFunction() for tracking visitWebPage and clickLink activities just like you mentioned.
Thank you!